

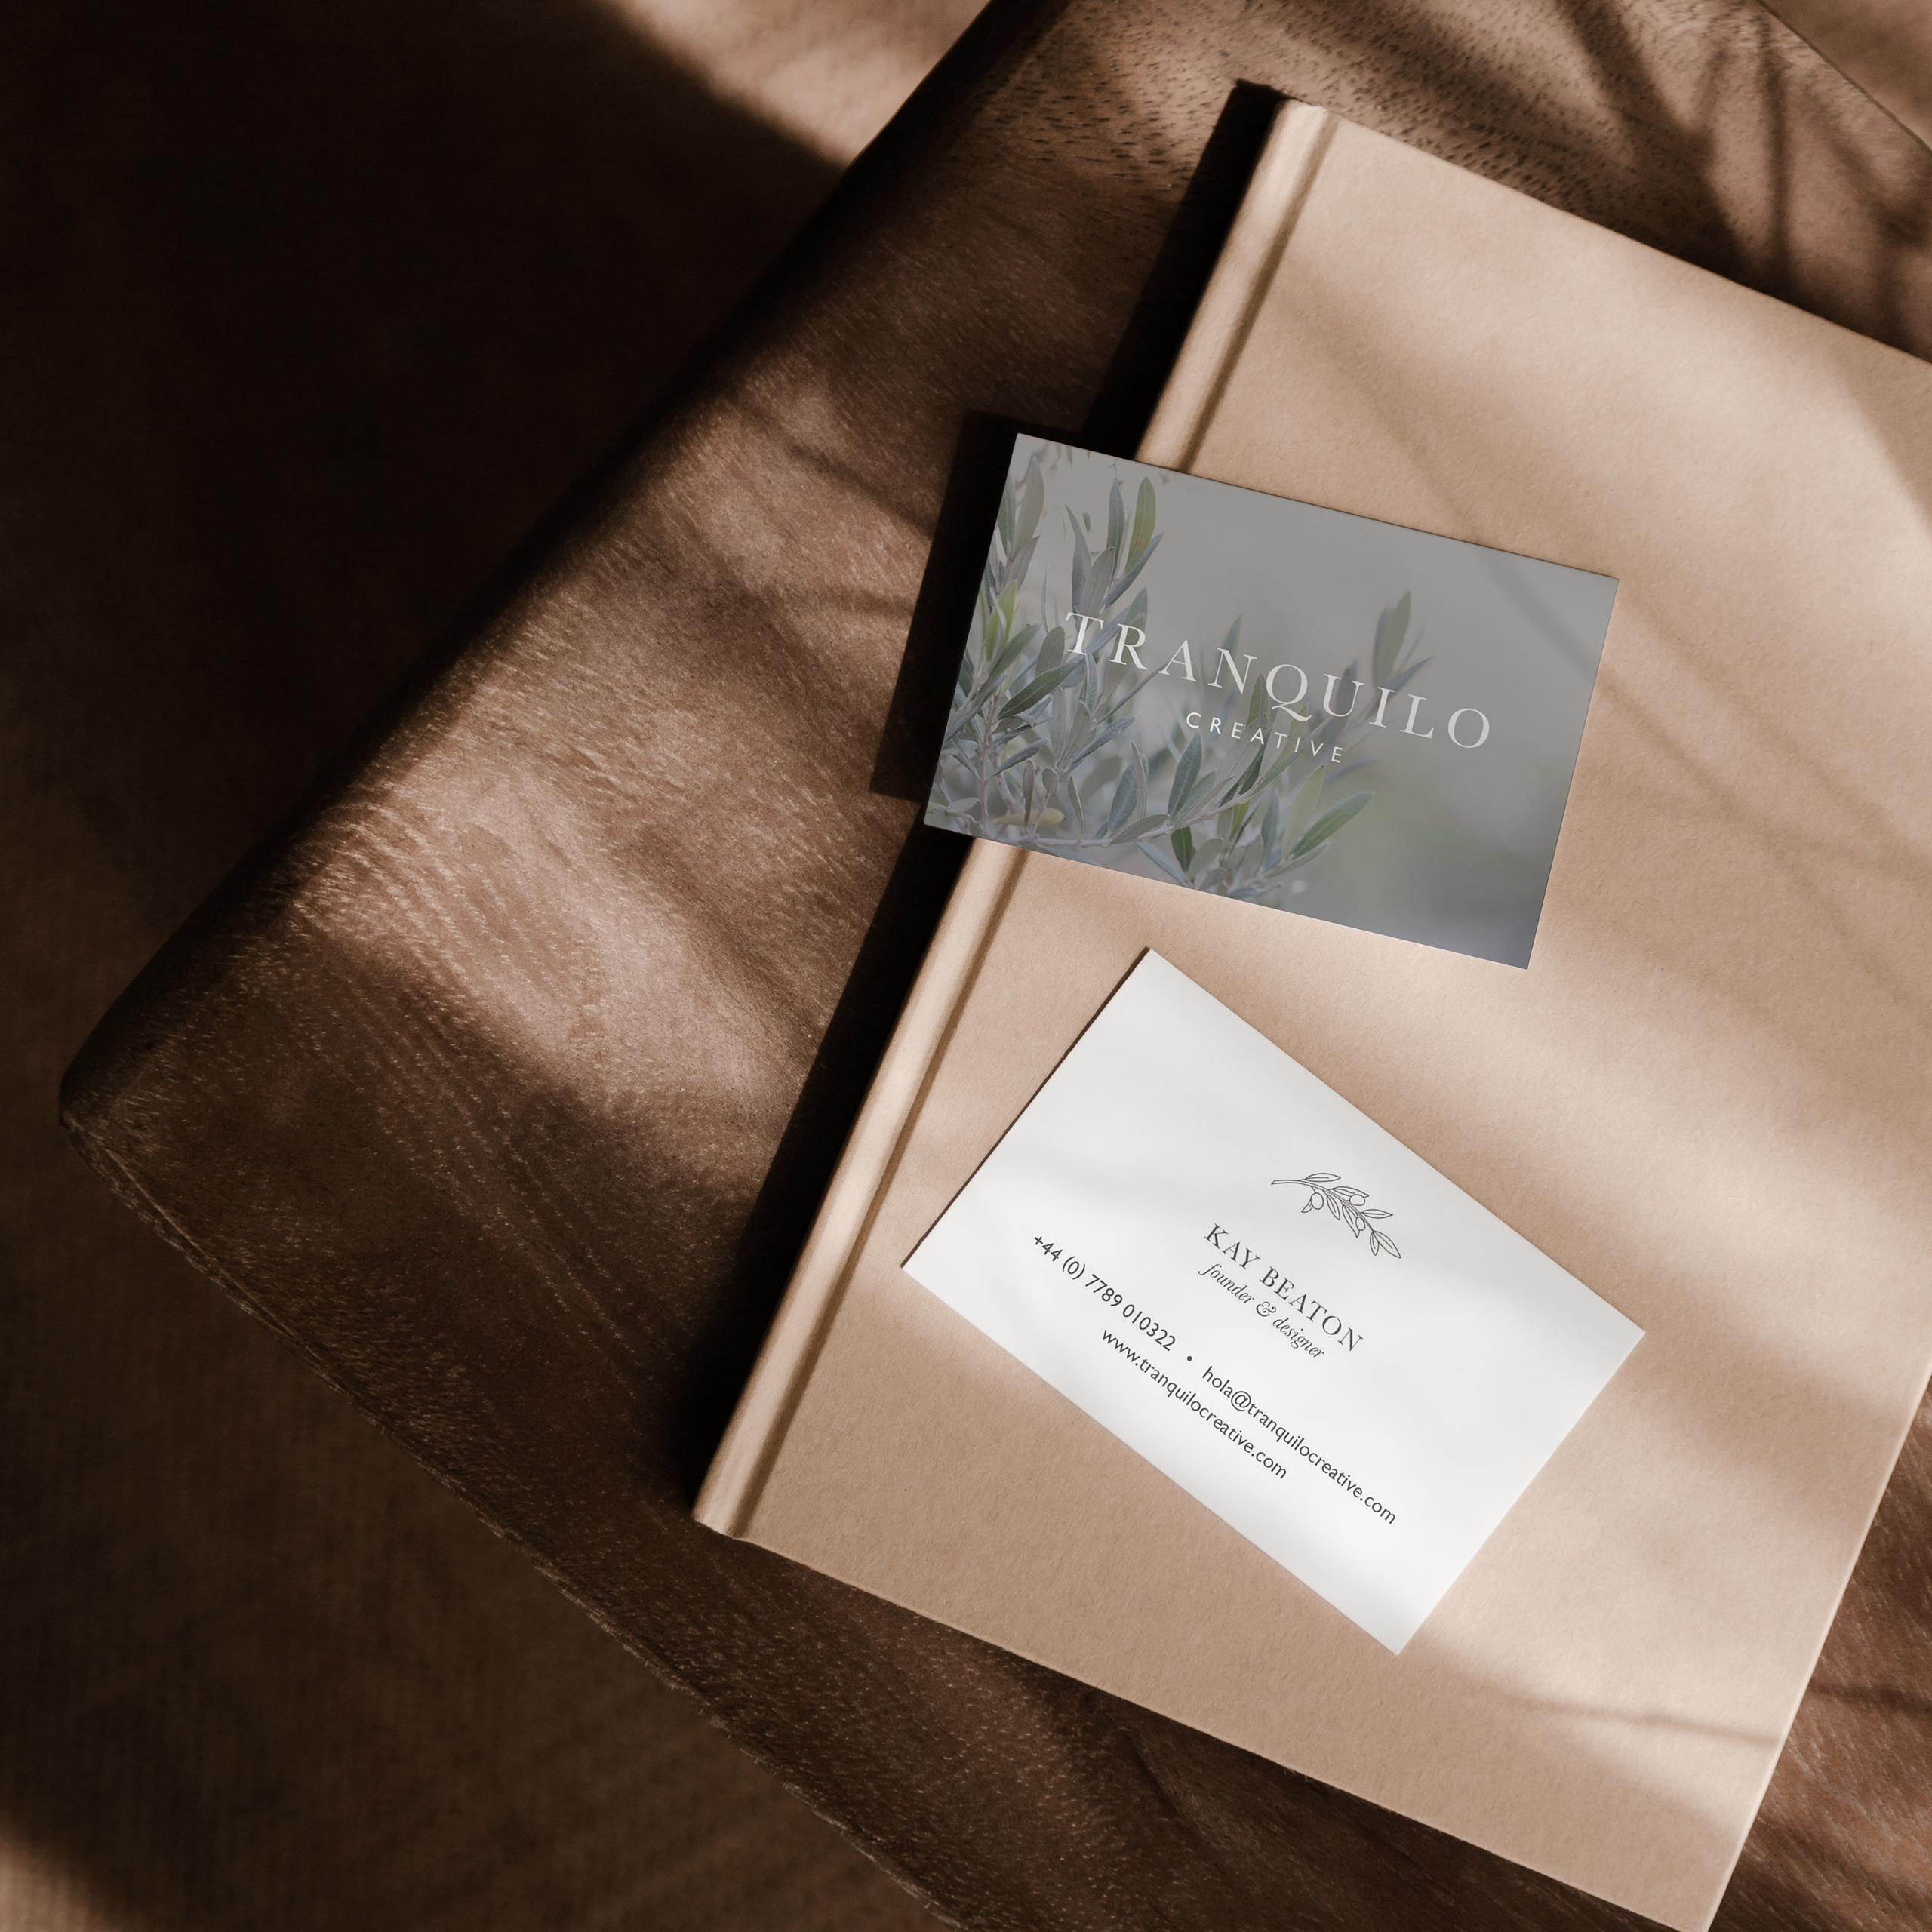
Effortlessly simple business cards right?
How it used to be done vs How it’s done now . . .
Today, I would design these on a computer in InDesign, but when I started out in design things were very, very different. Let me explain the process . . .
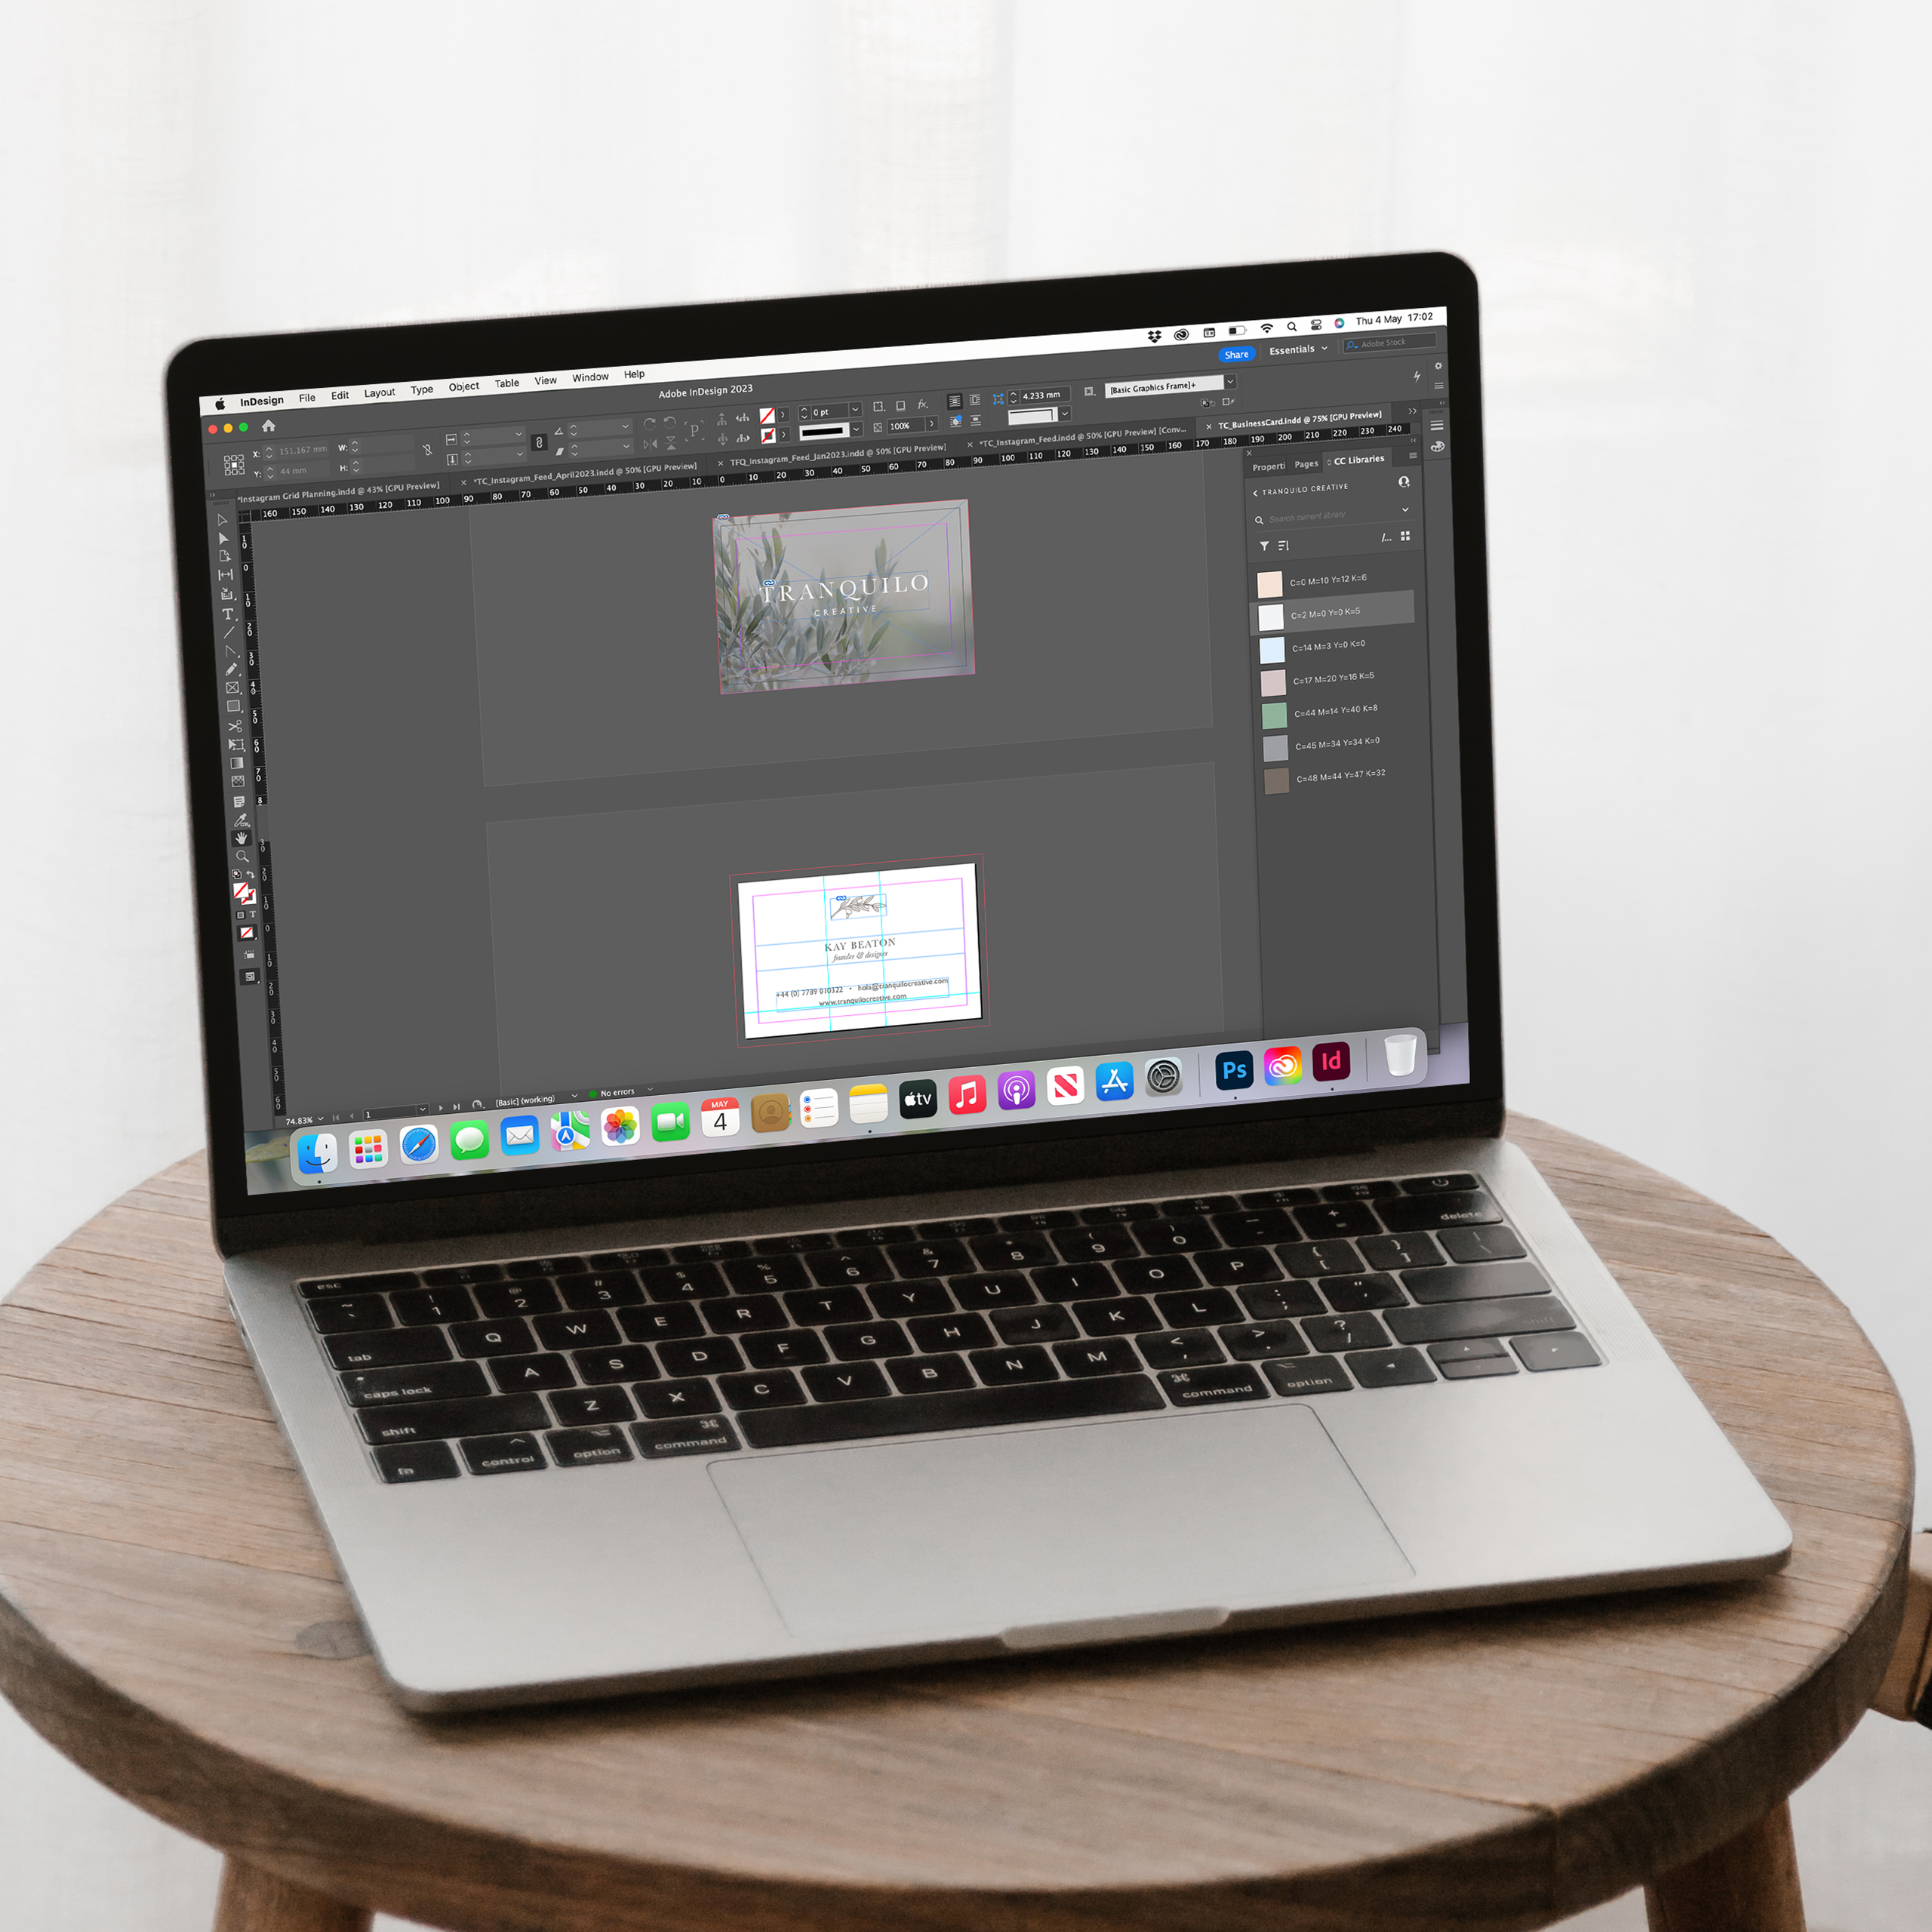
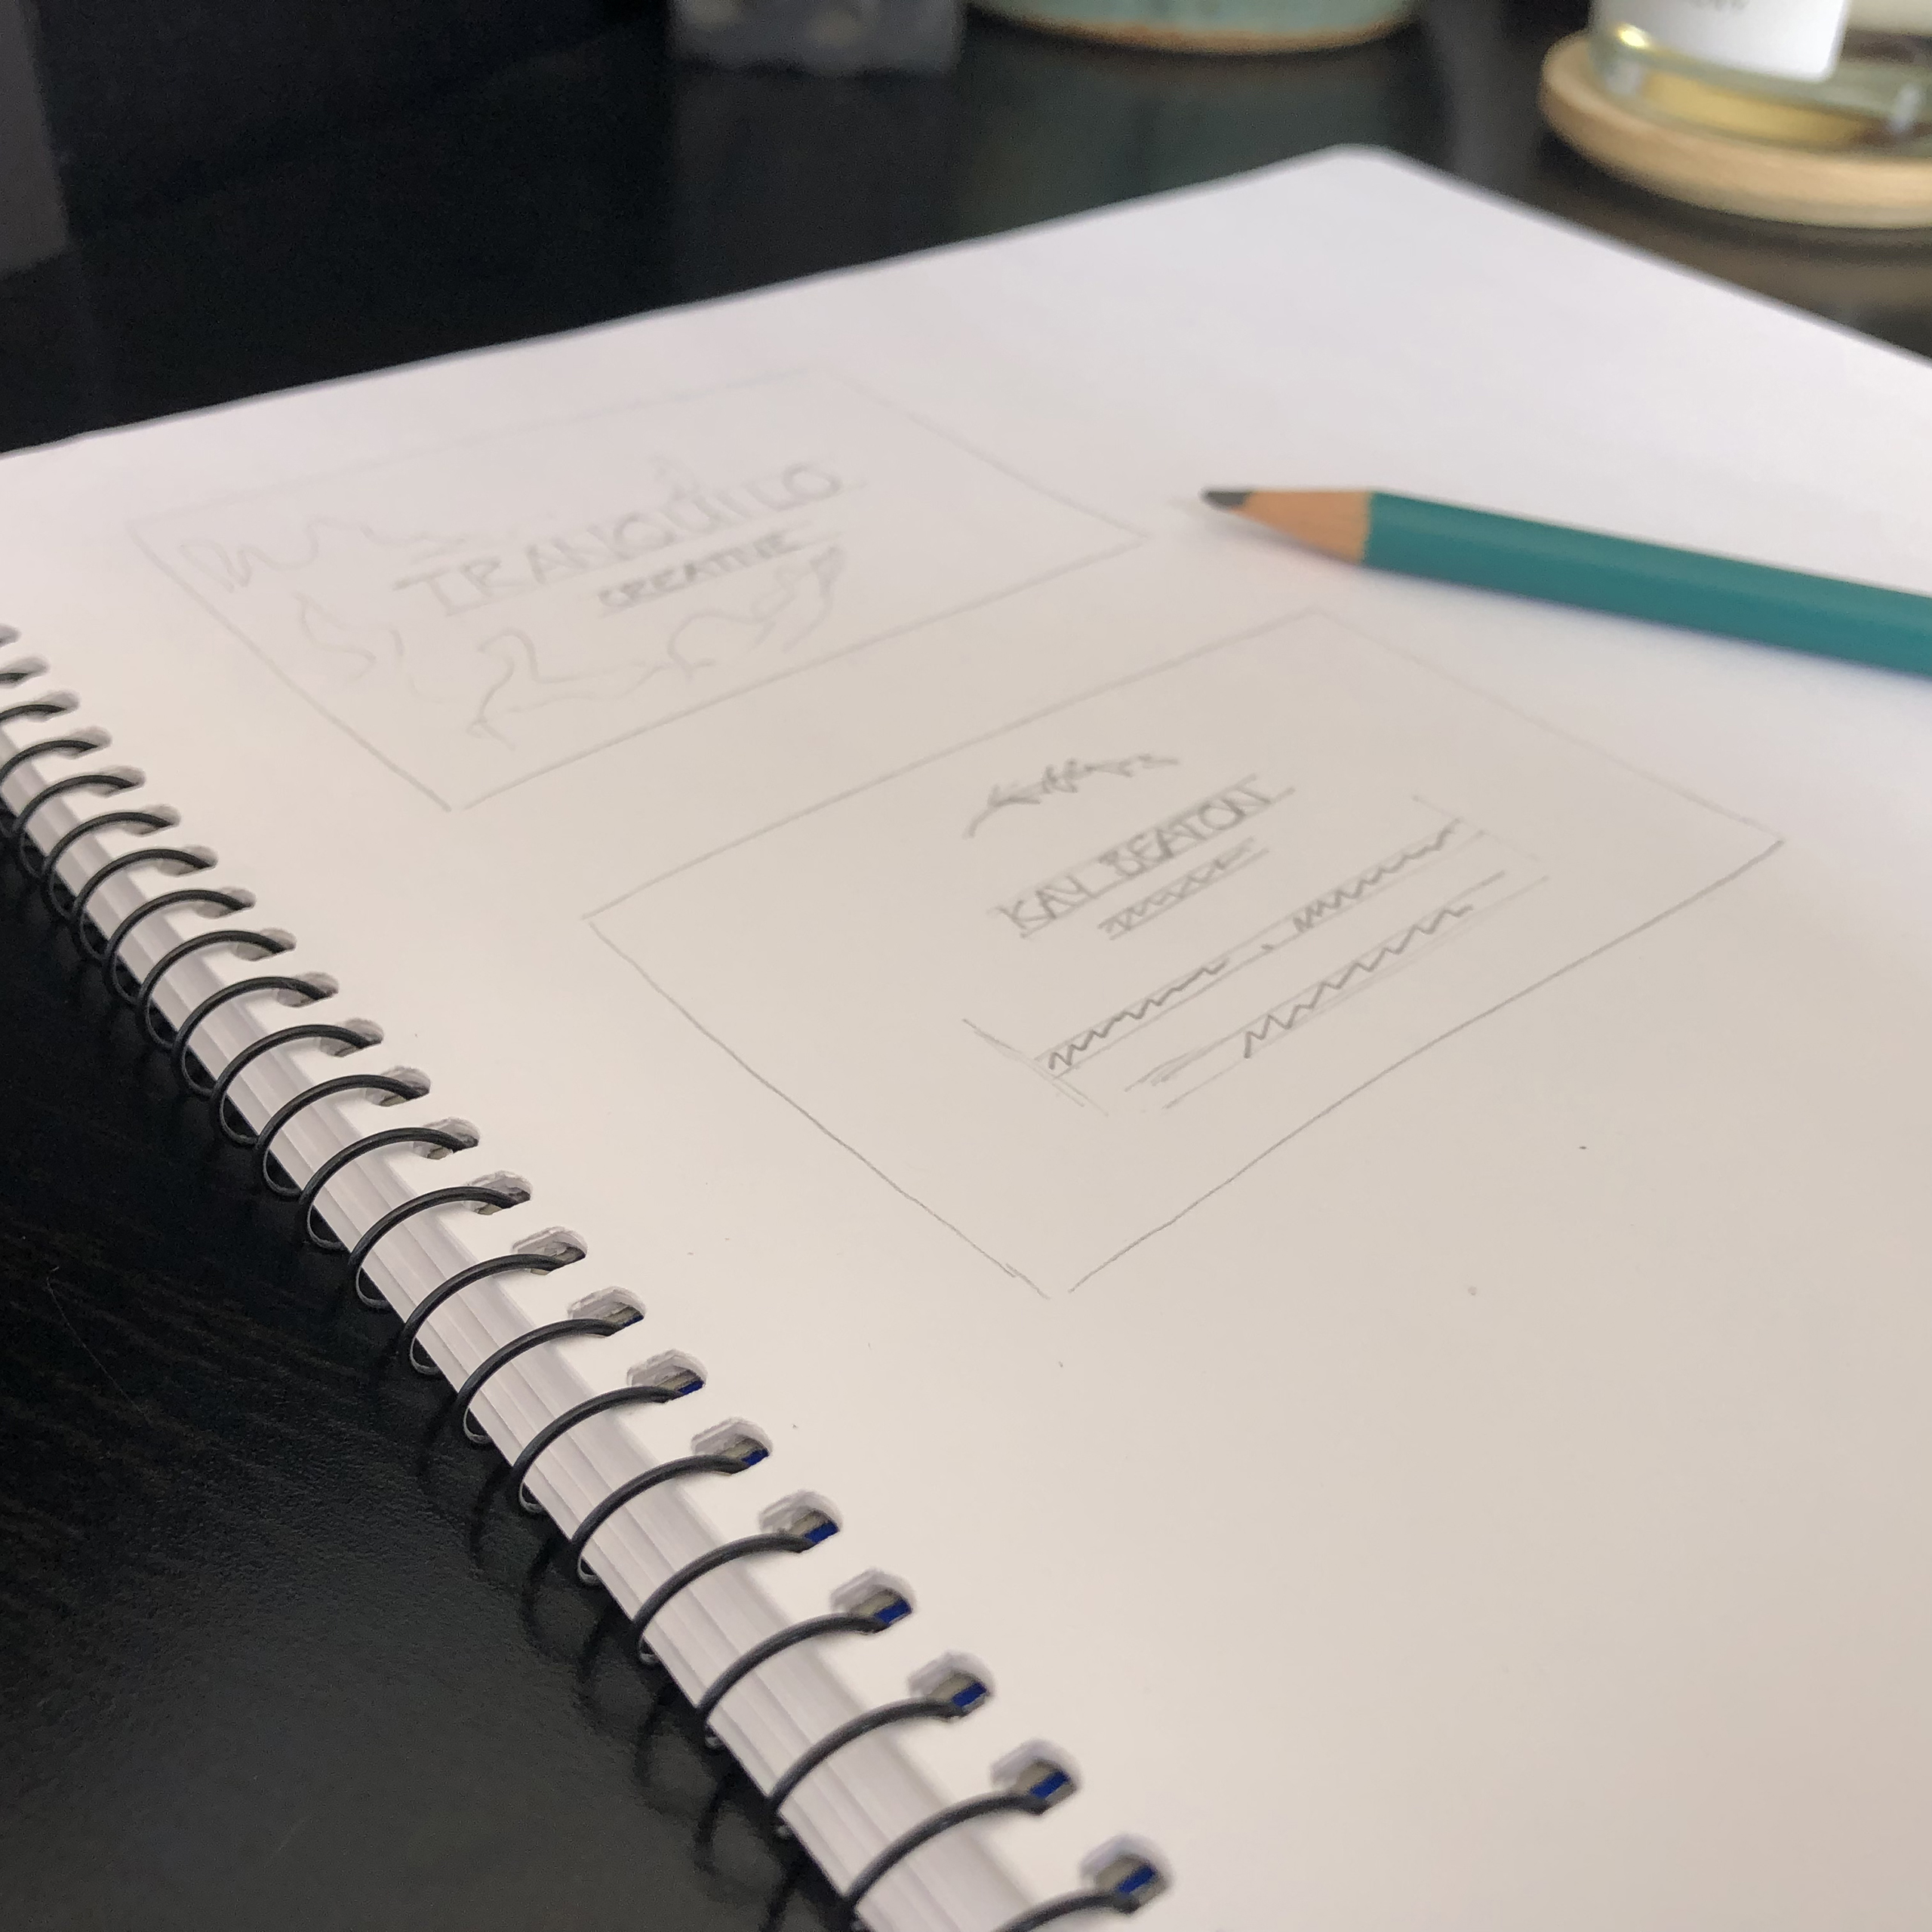
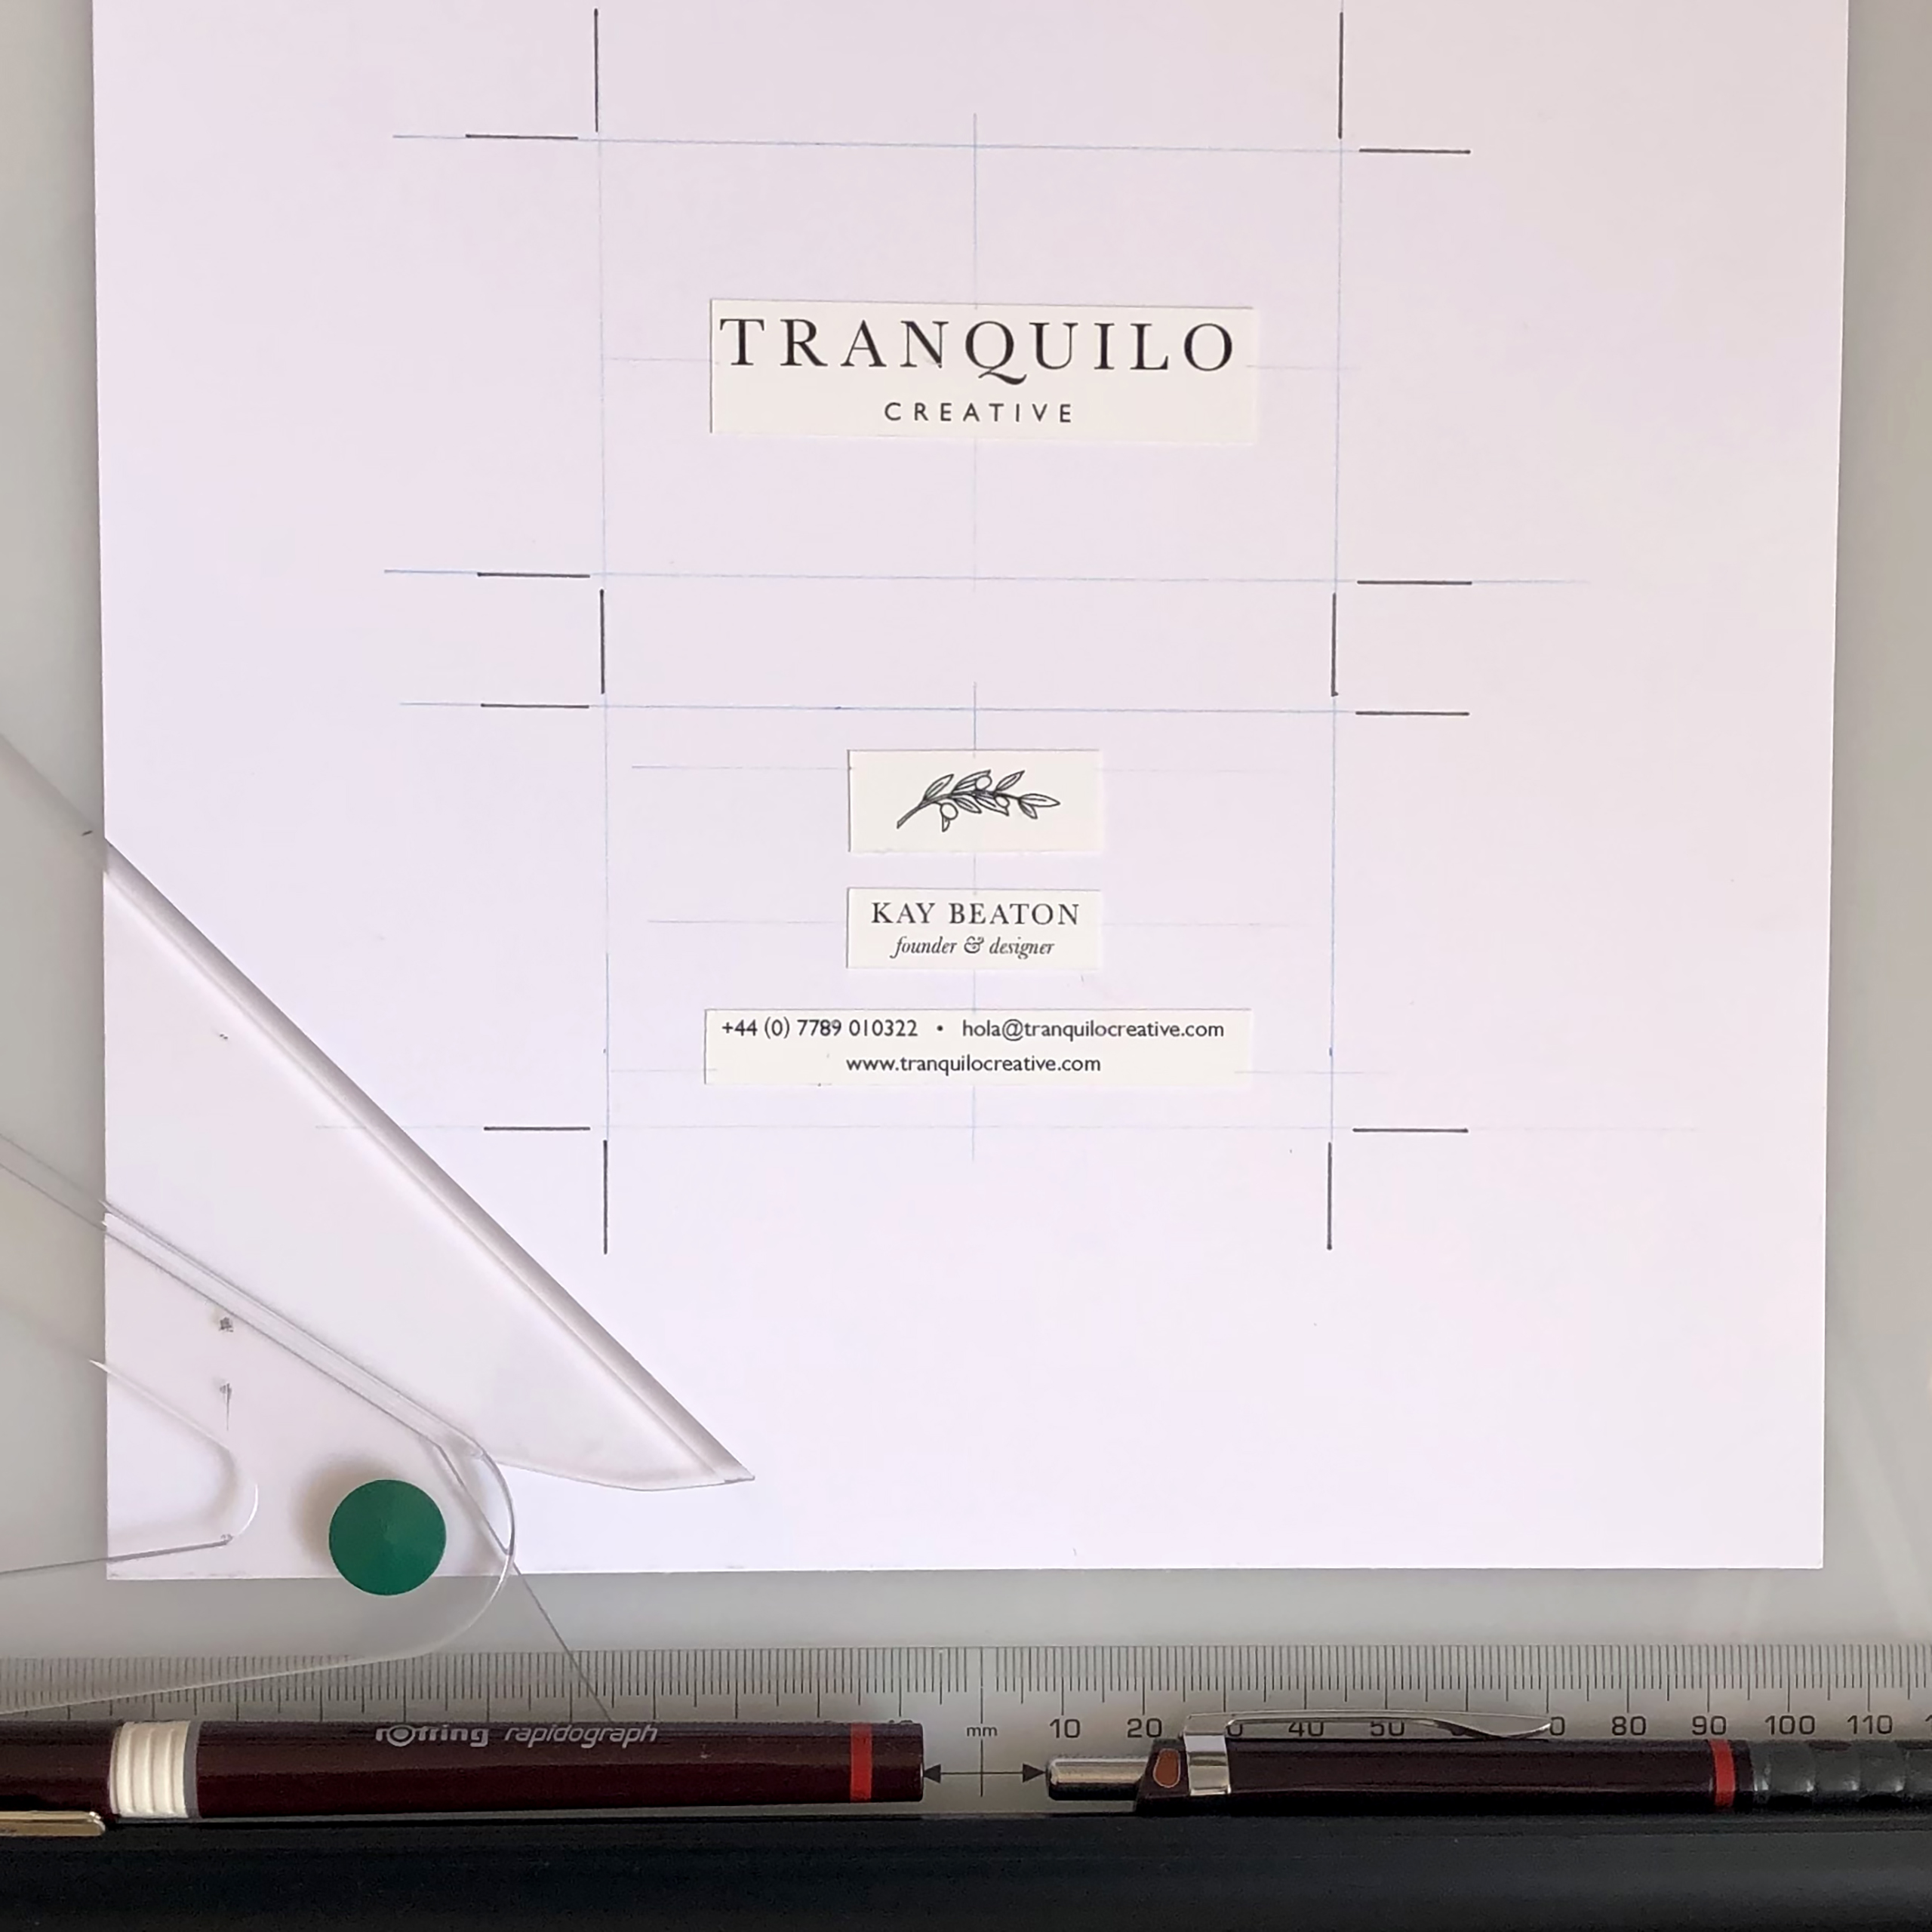
Before I could get started on the artwork I’d create a pencil thumbnail (also known as a scamp) with the rough layout of the piece I was to be working on. In this case, a standard UK Business Card is 85mm x 55mm (although this does vary from printer to printer and country) – this gives a rough idea of what sizes the logos and text will need to be.
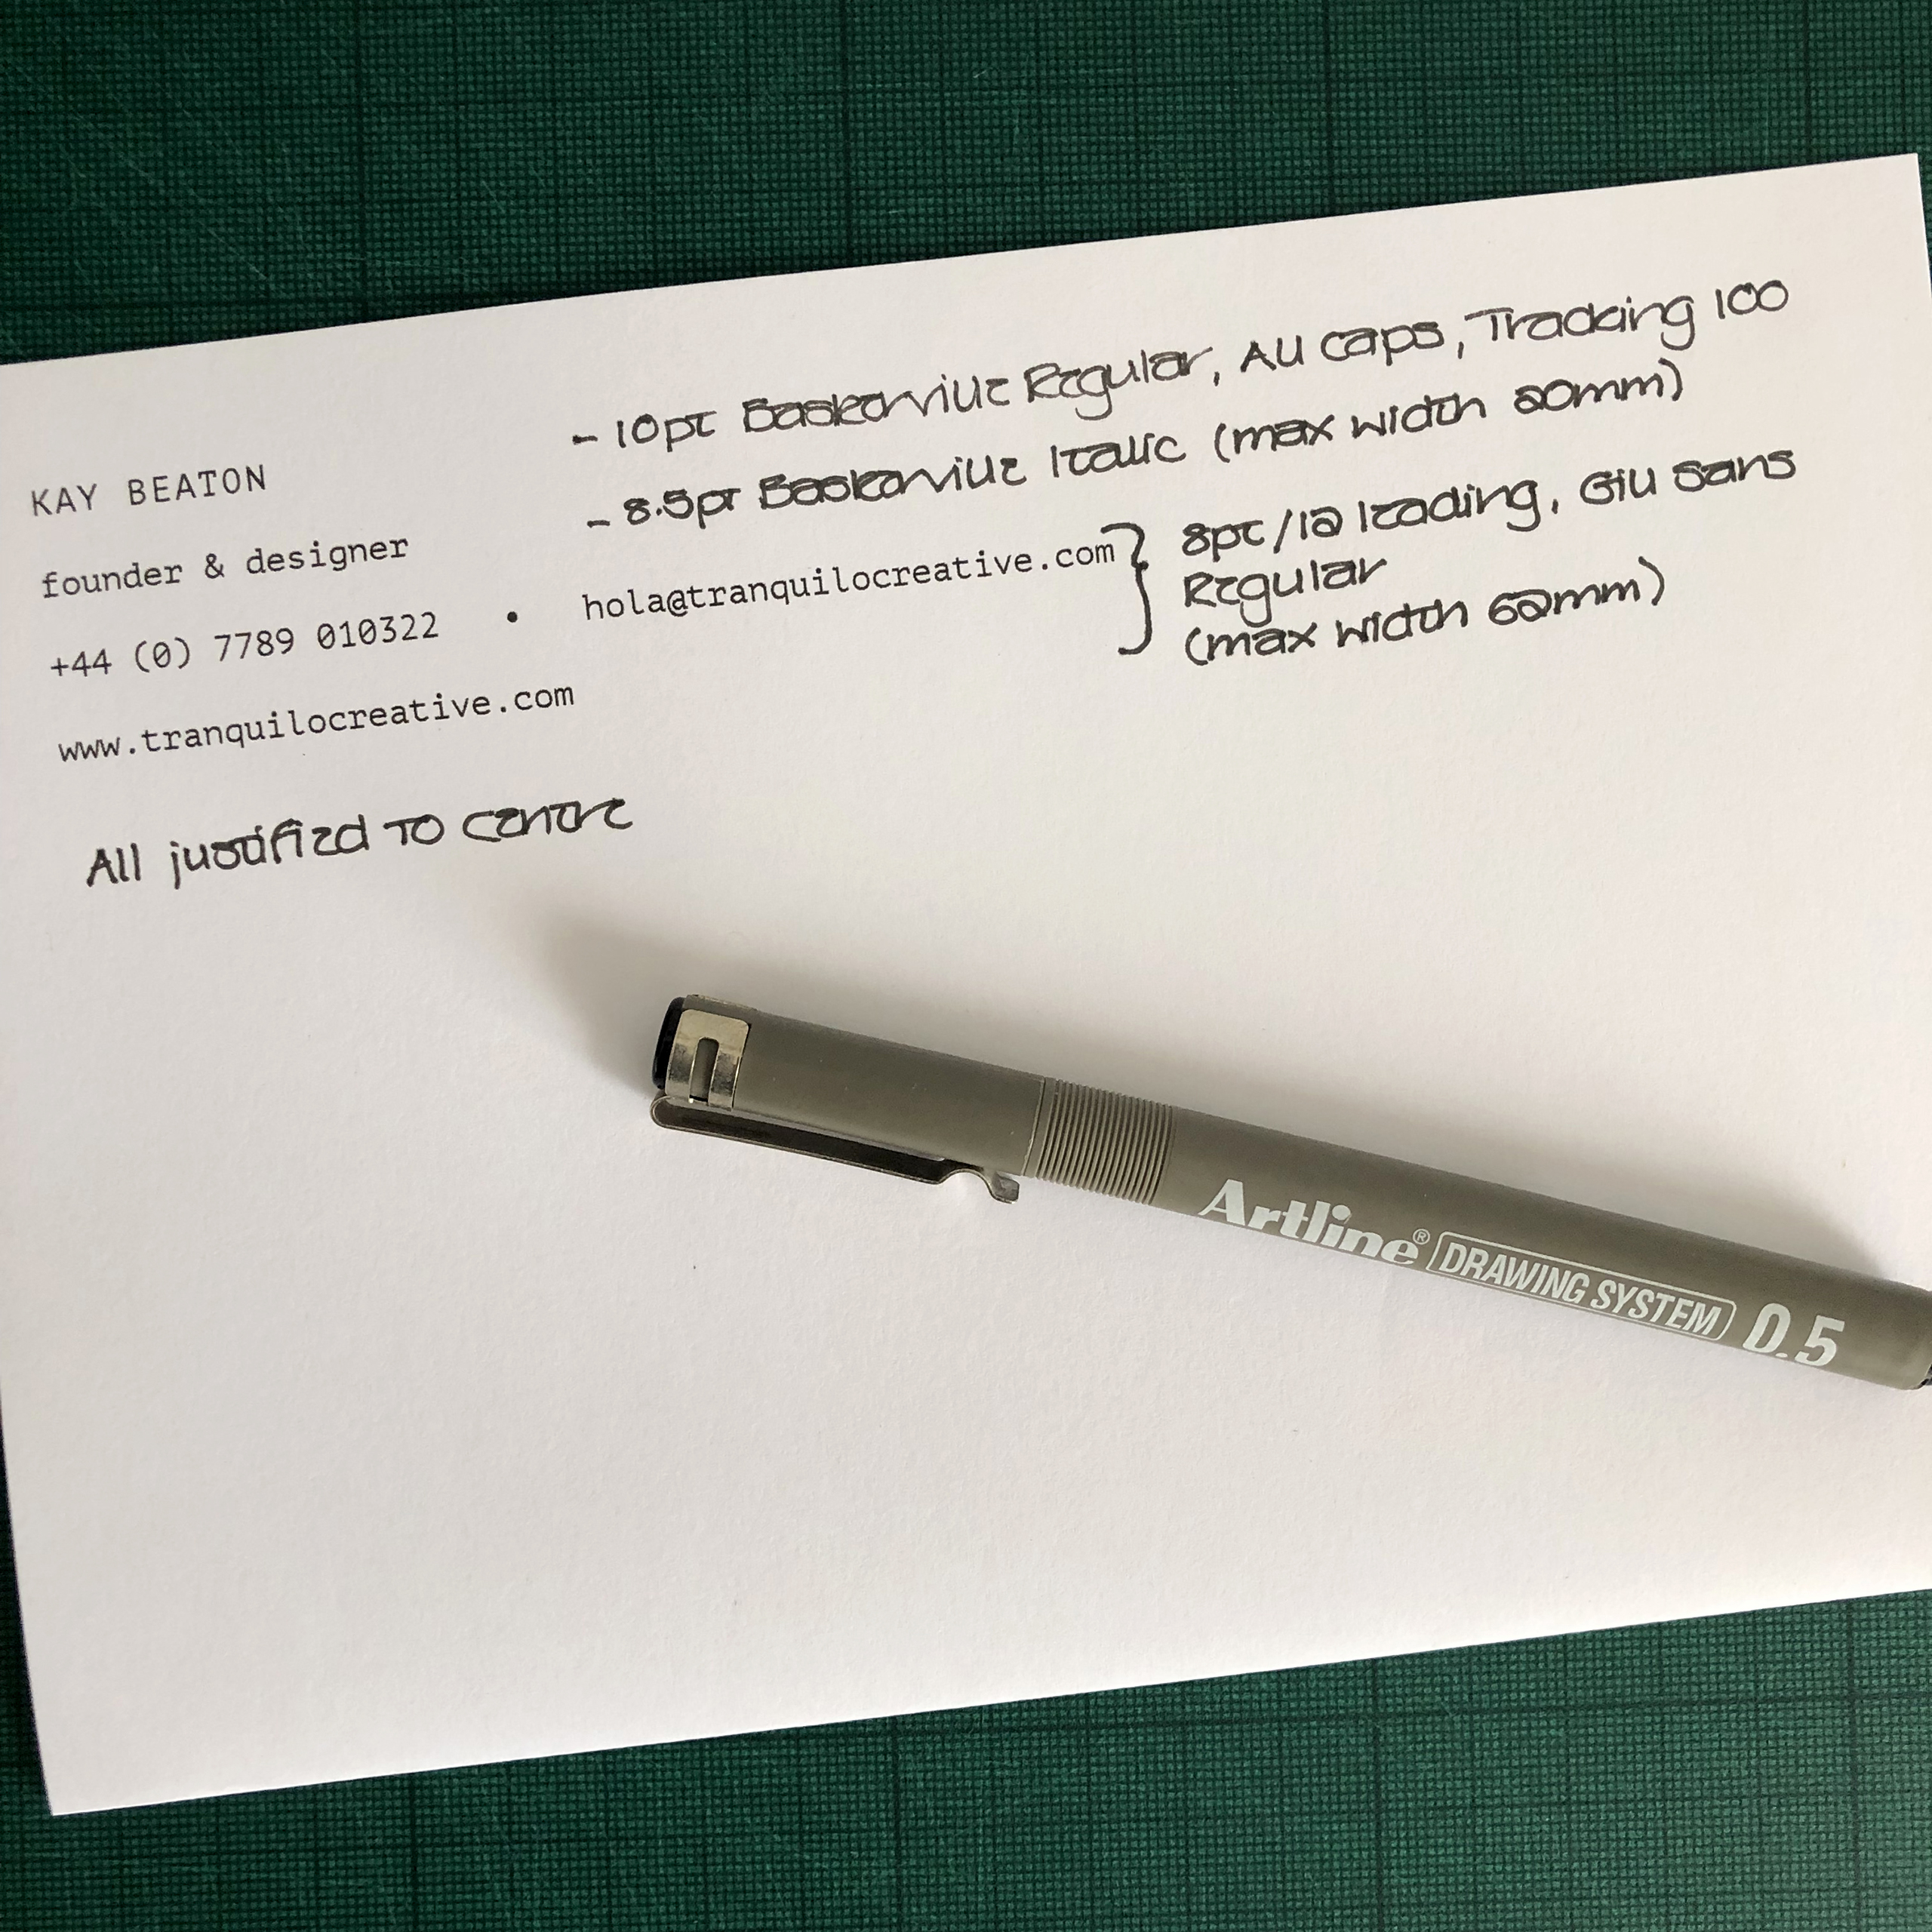
Type had to be sourced from a typesetting house, so I had to learn to spec type in a way that a typesetter could supply me exactly what I needed – getting this wrong could be expensive, so you had to check, and check again, that you’d supplied the correct information. It could take a couple of days before you got the typeset piece back from the setting house.
Logos and any decorative elements would need to be resized on a reprographic camera. Again this could be an expensive process, so first I would create a “dummy” using photocopies, just to be sure my sizes worked. (To work out the percentages for reducing or enlarging I use this simple equation “Divide what you want by what you’ve got”.) Then I’d head off to the dark room to do the camera work, including the processing and drying, this could take around an hour.
Photos required the area to be used to be masked. I already knew the size of the Business Cards (85mm x 55mm) and the width of the photo (184mm), so I needed to work out how deep (x) the mask needed to be. This is where a wee bit of mathematics comes in handy! Here’s the equation I used: x = (184 x 50) ÷ 85. So x = 108mm.
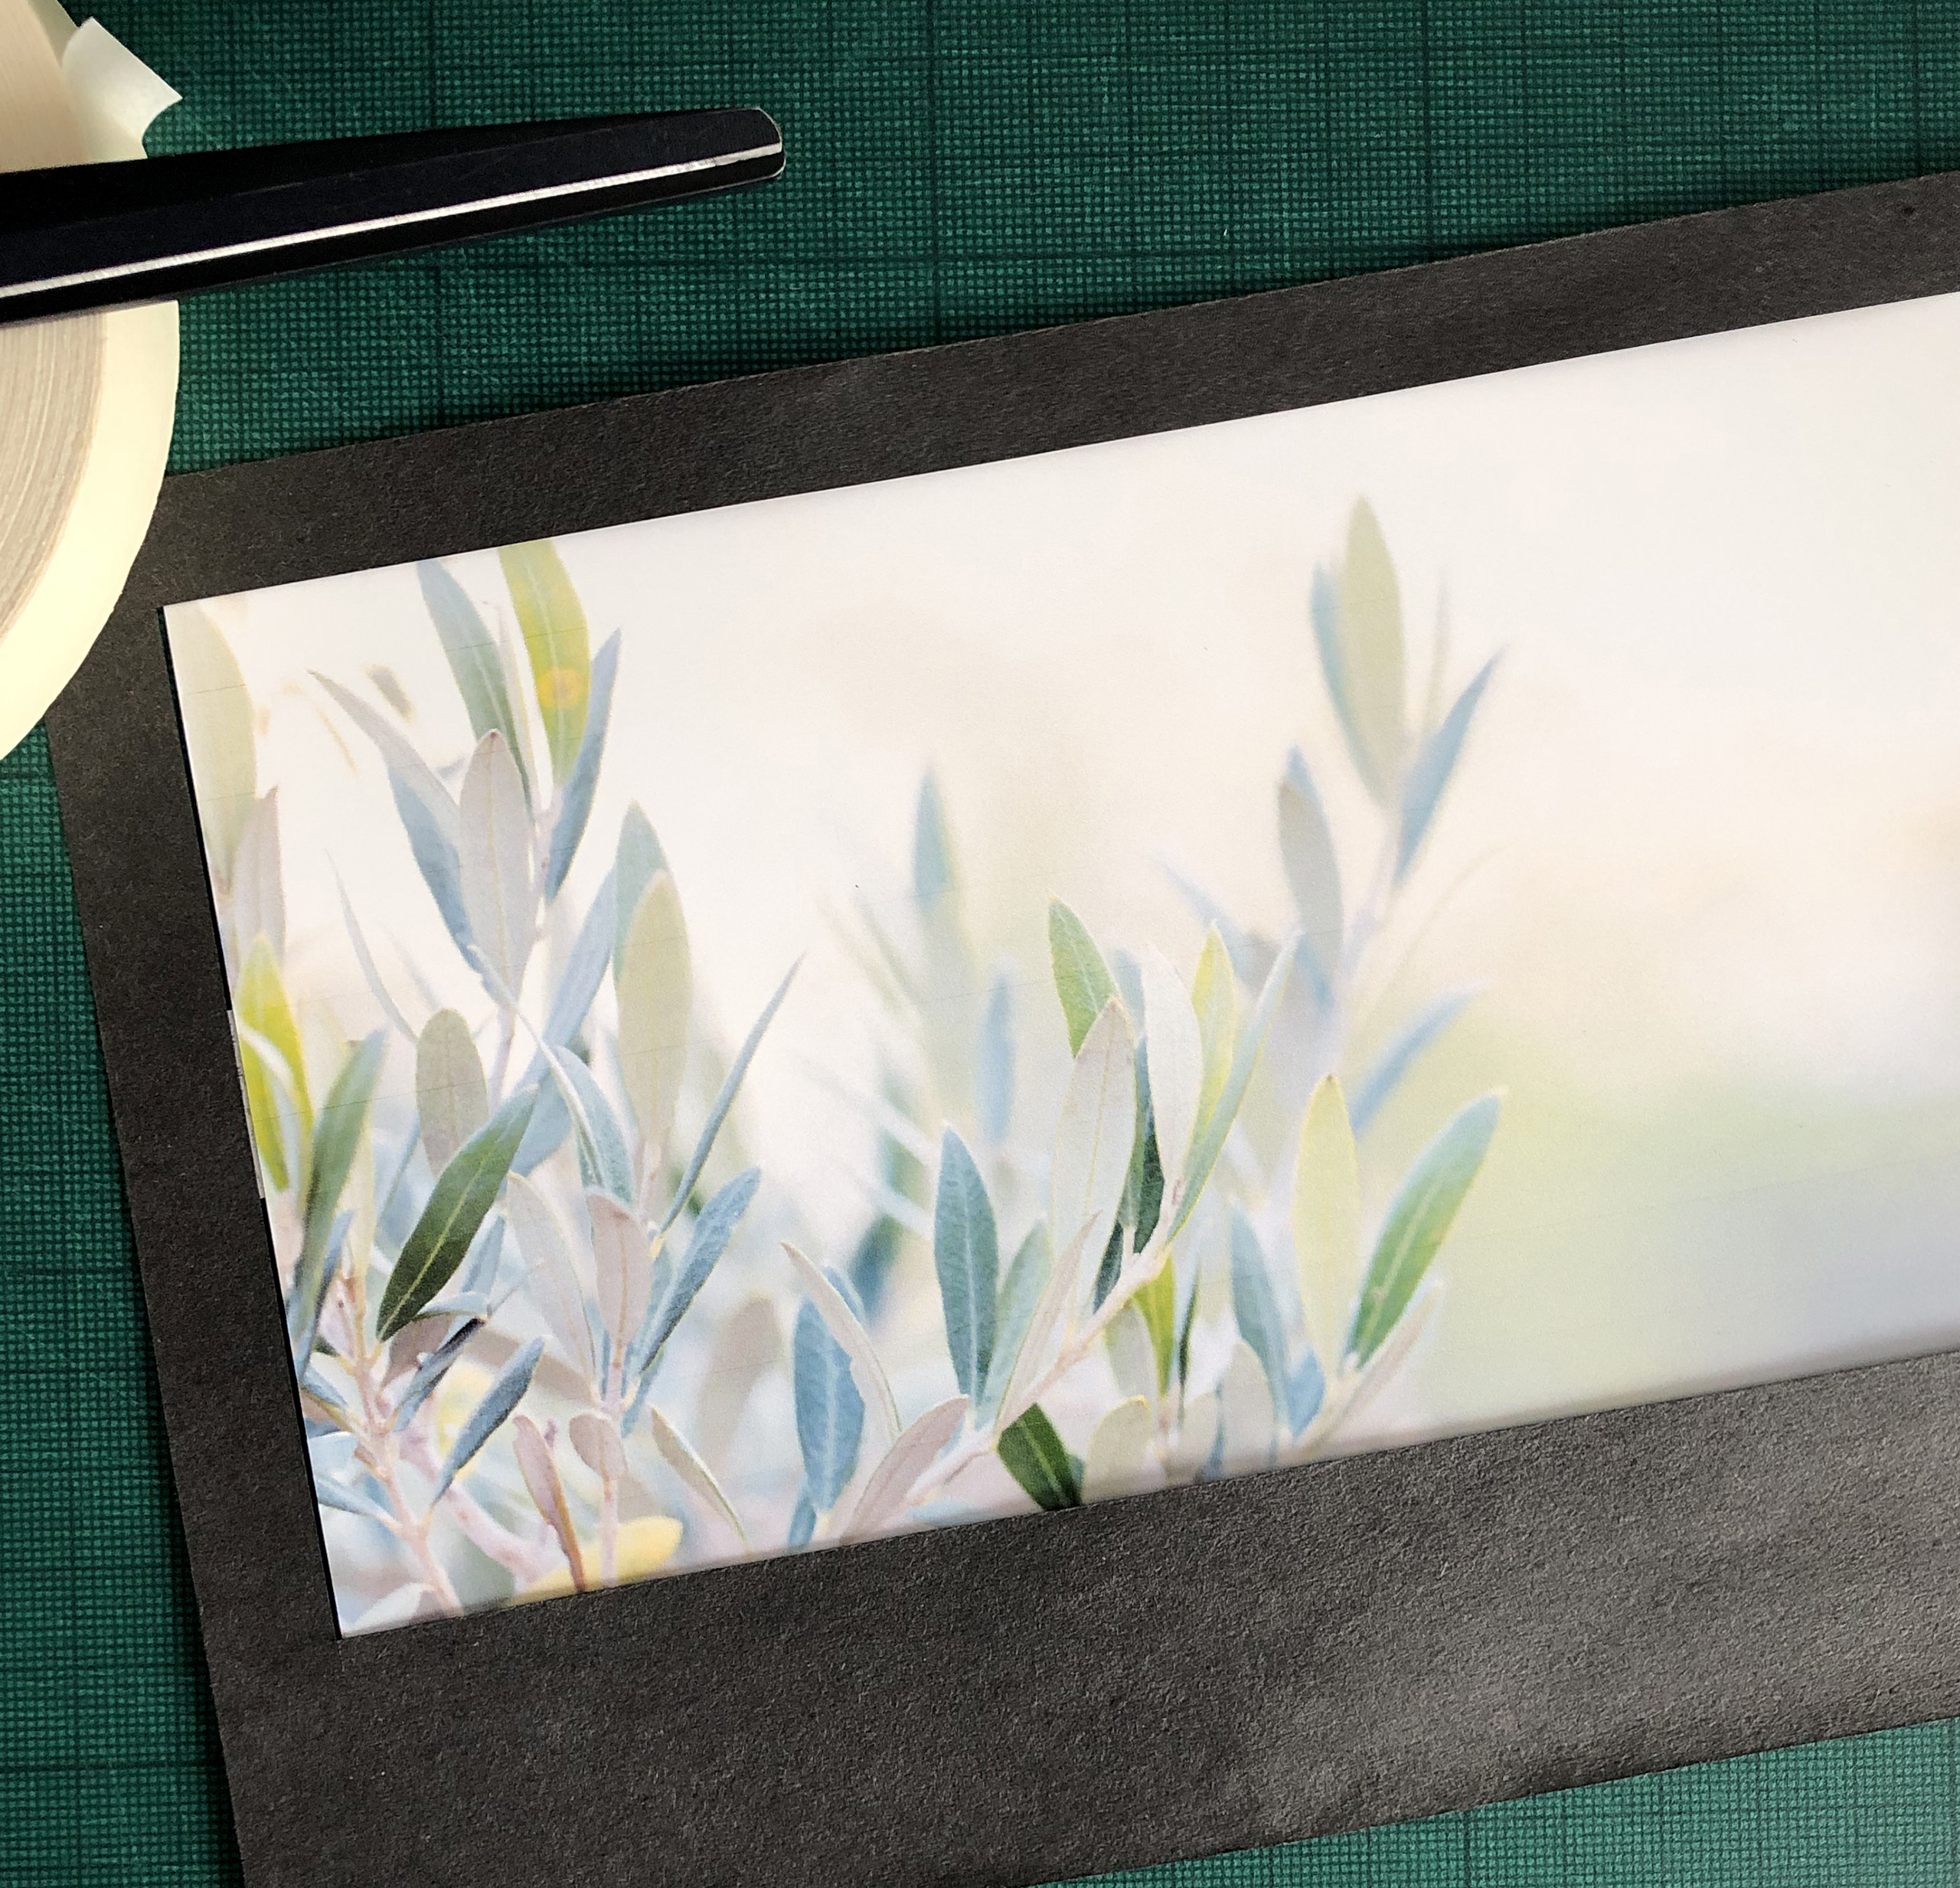
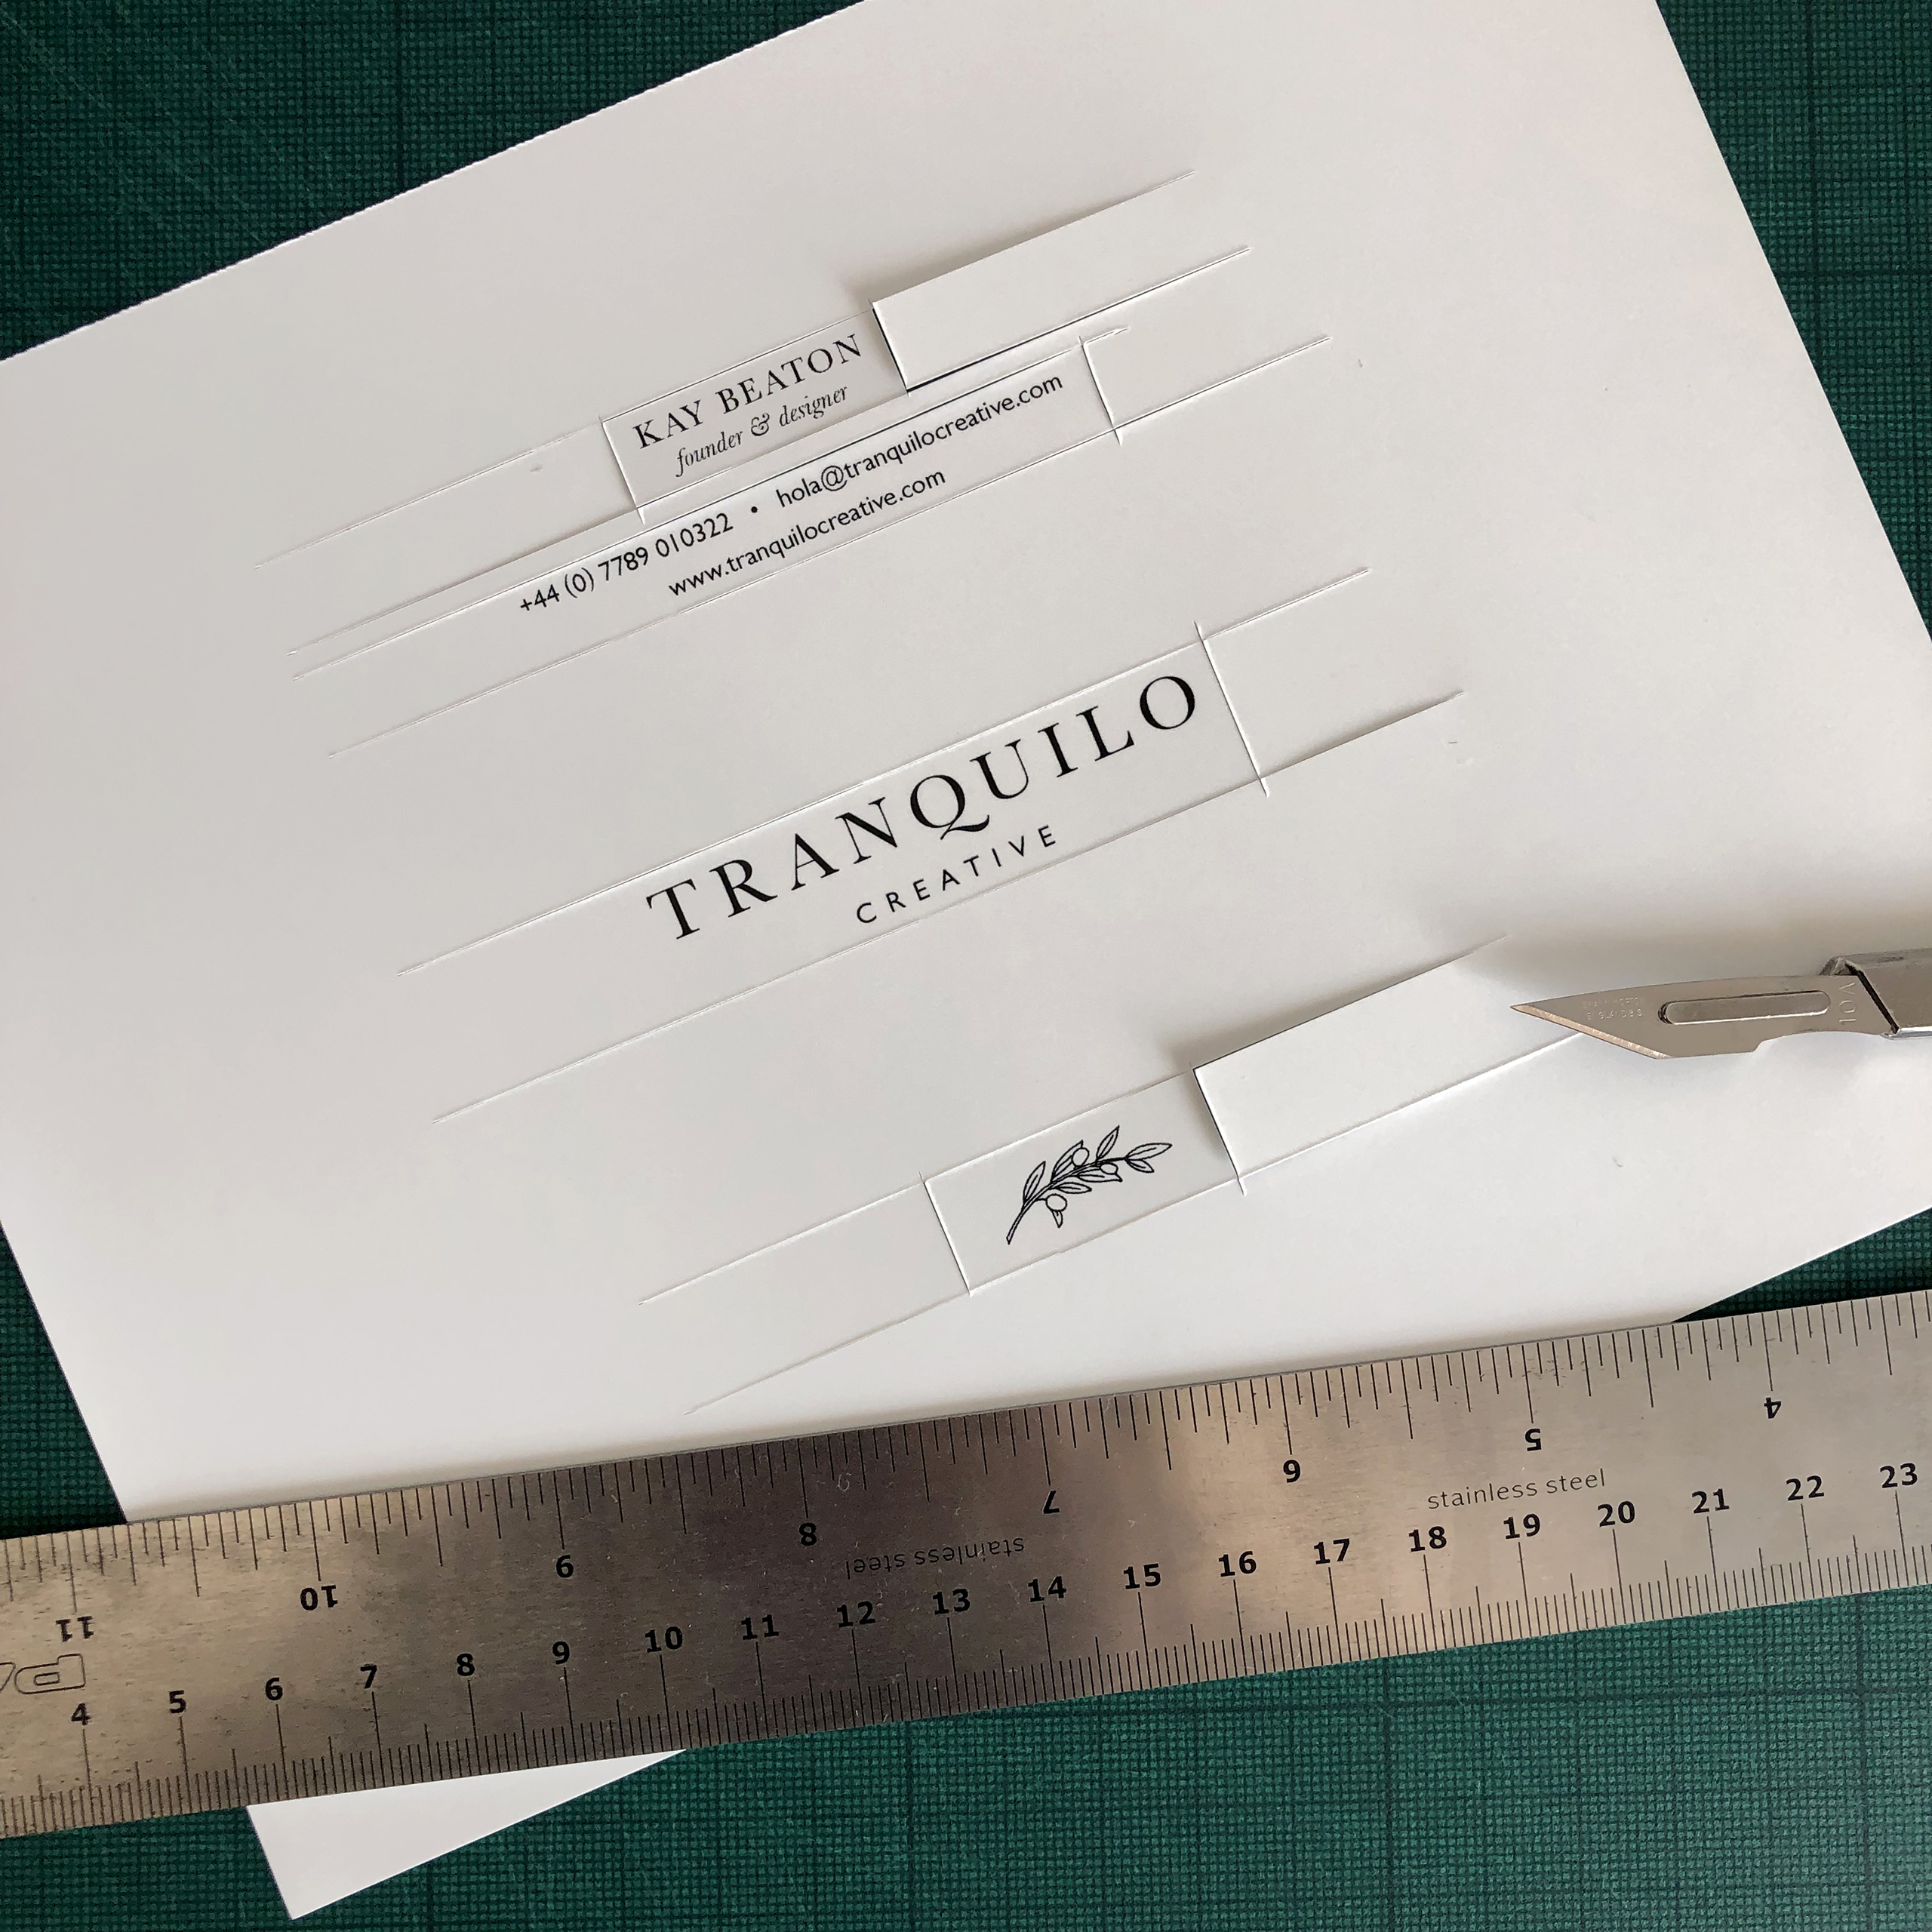
That complete, I would go back to my drawing board. I’d draw up the layout on an artboard using a non-reproducing pencil (blue), marking on the crop marks in black ink and, using a scalpel and metal ruler, I’d cut out my text and my logos before pasting them with SprayMount into position on the artwork. When the artwork was completed, a colleague (with a fresh pair of eyes) would double-check that everything was straight and correct before proceeding to the next stage. This process could take around an hour, to an hour and a half.
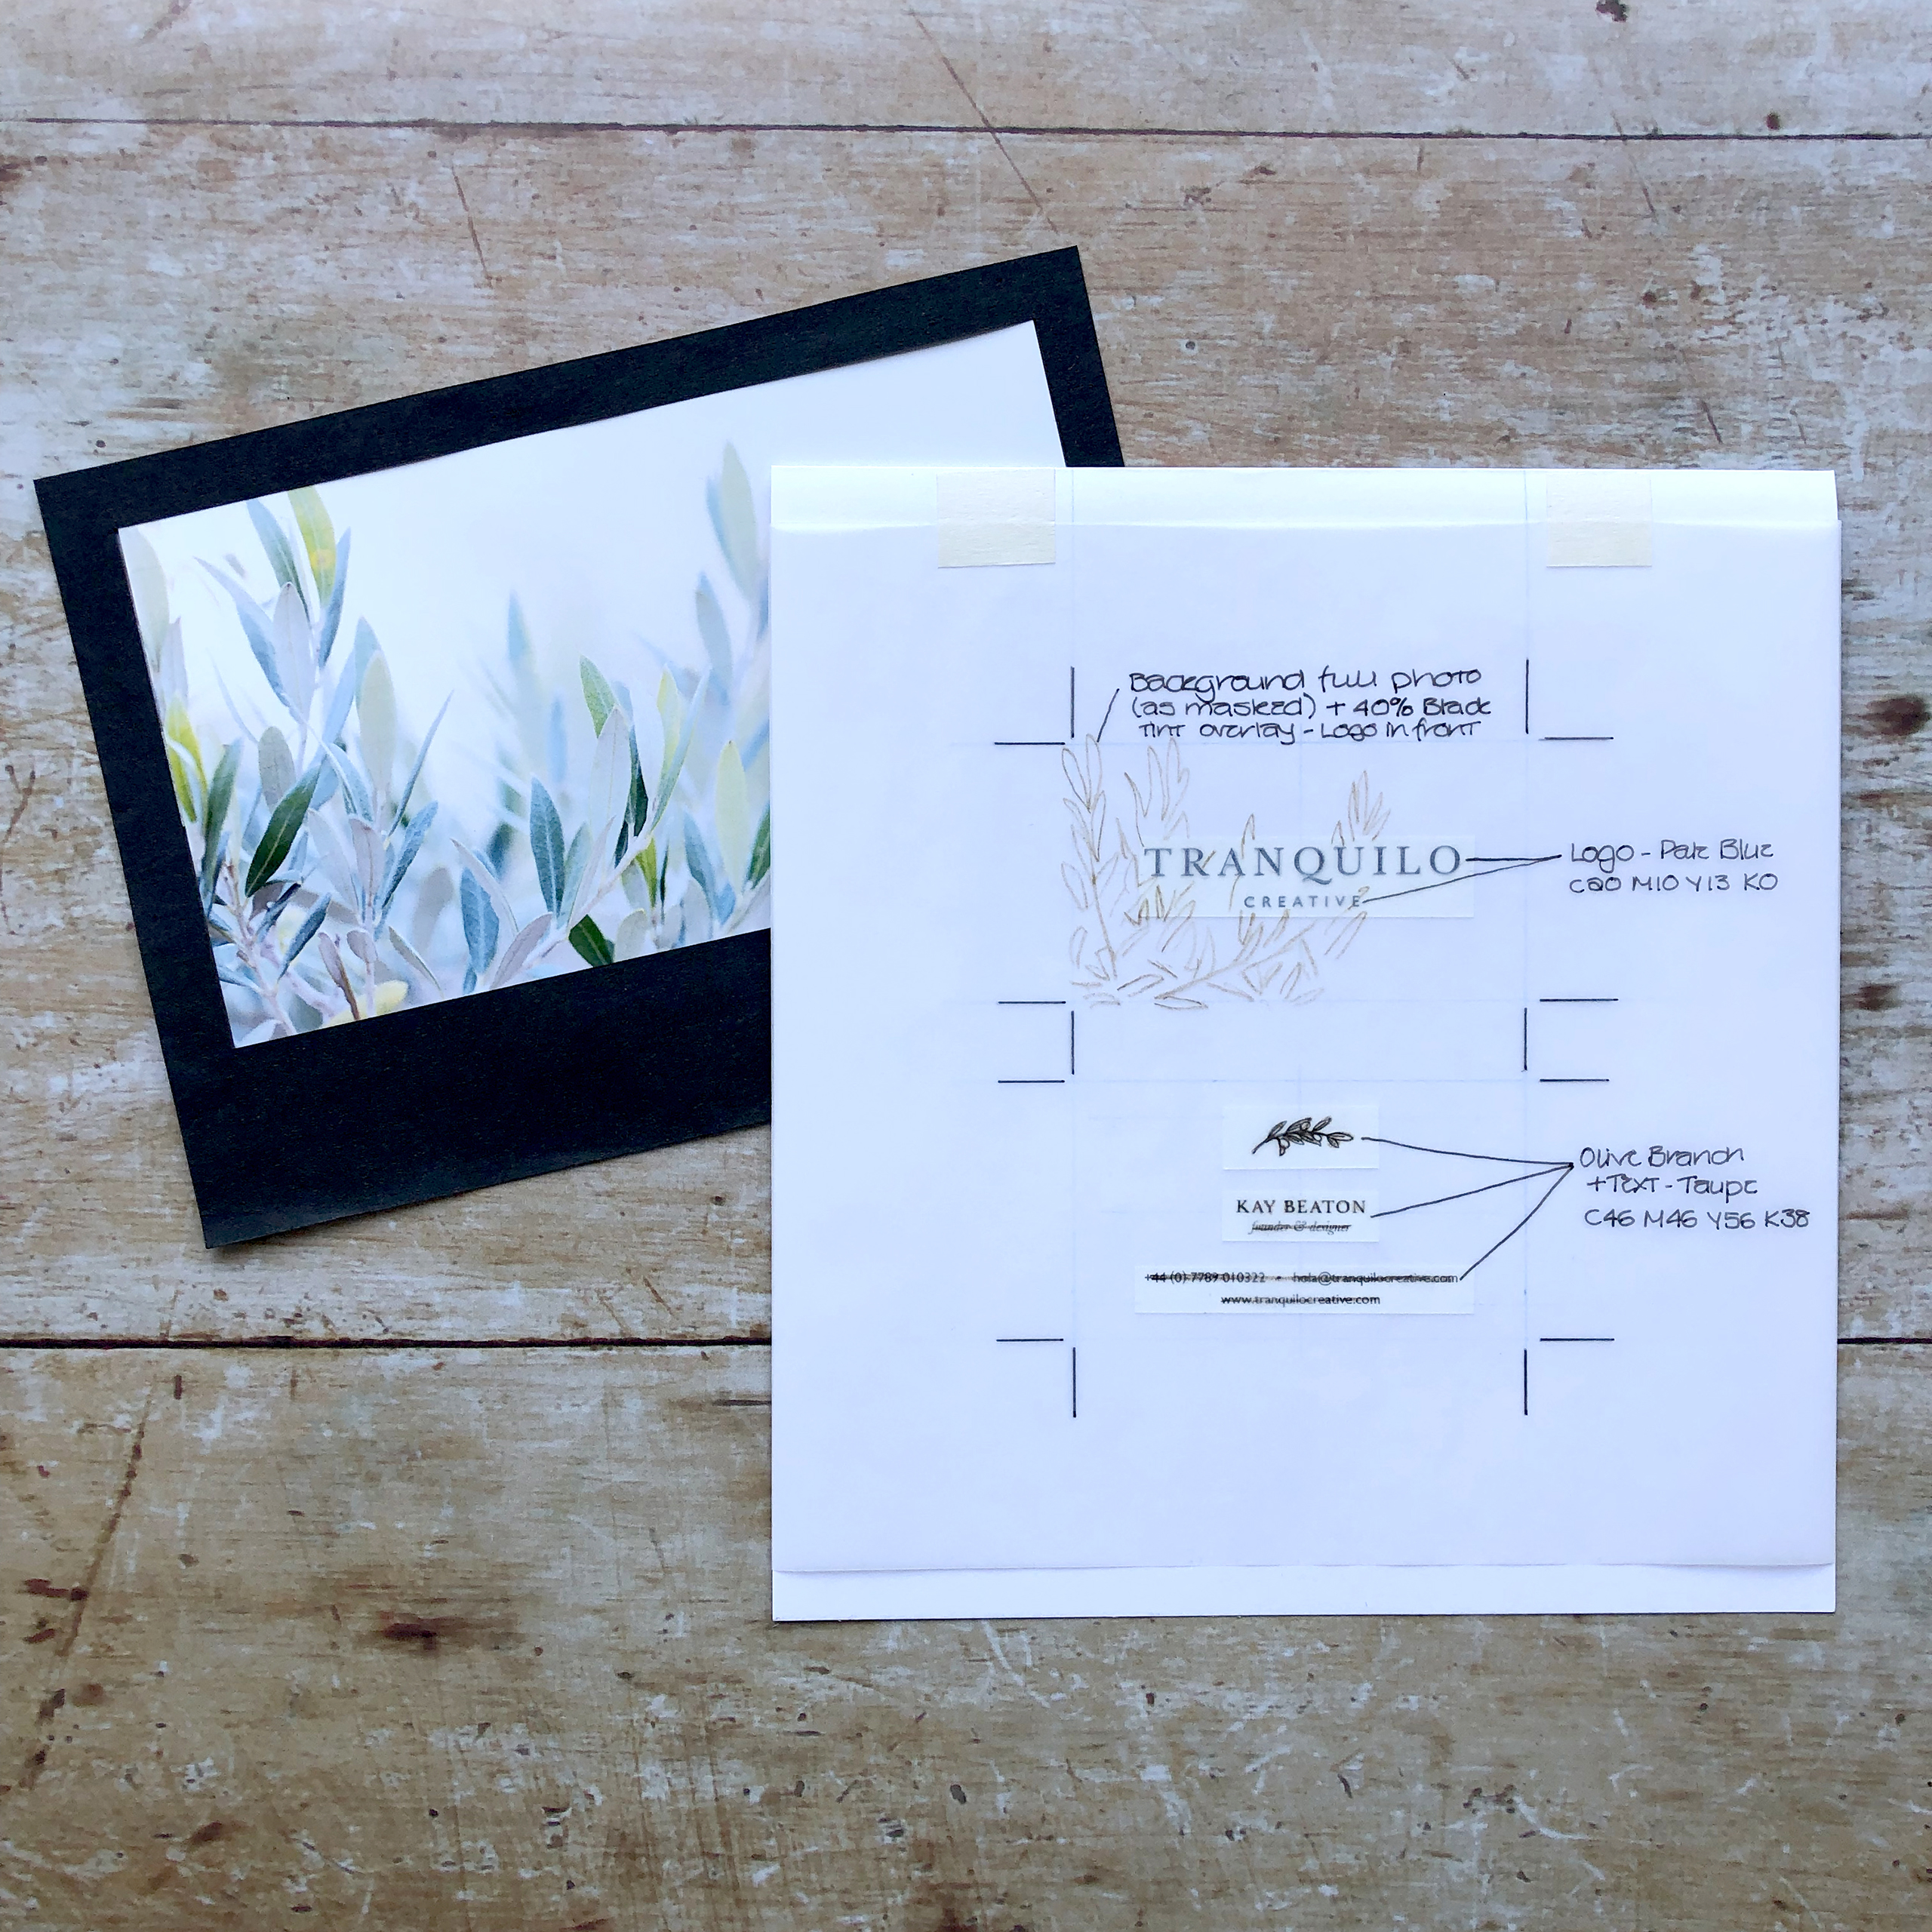
Full colour work (generally things which include photos) went to a repro house in order to produce colour separated films for the printer. An overlay (tracing paper) would be added to the artwork with everything hand coloured, and CMYK values added, along with any further instructions. The artwork would then be sent off to the repro house – the one we used was in Singapore – so it could take around three weeks to get the final films and Cromalin proof back! After those had been checked, and only then, could the artwork finally go to the printer to be printed.
After a week to ten days, you’d finally have your beautiful Business Cards in your hands.
So, do you still think they’re effortlessly simple?
Yes, the production method may have changed beyond all recognition, but the design fundamentals and principles that I learned all of those years ago still remain the exactly the same.
